Ever's Second Birthday Party

posted on: Monday, November 7, 2016


Somehow, through some time warp beyond my comprehension I am sitting down to write about my baby's second birthday. Has it already been two years? Wasn't she just born? Wasn't she just a warm bundle swaddled in my arms? Or then again, might it have been a hundred years? I can't remember a life before her.  What did we do without her all that time? She has always been here and yet... Ah, time. My oldest foe. 

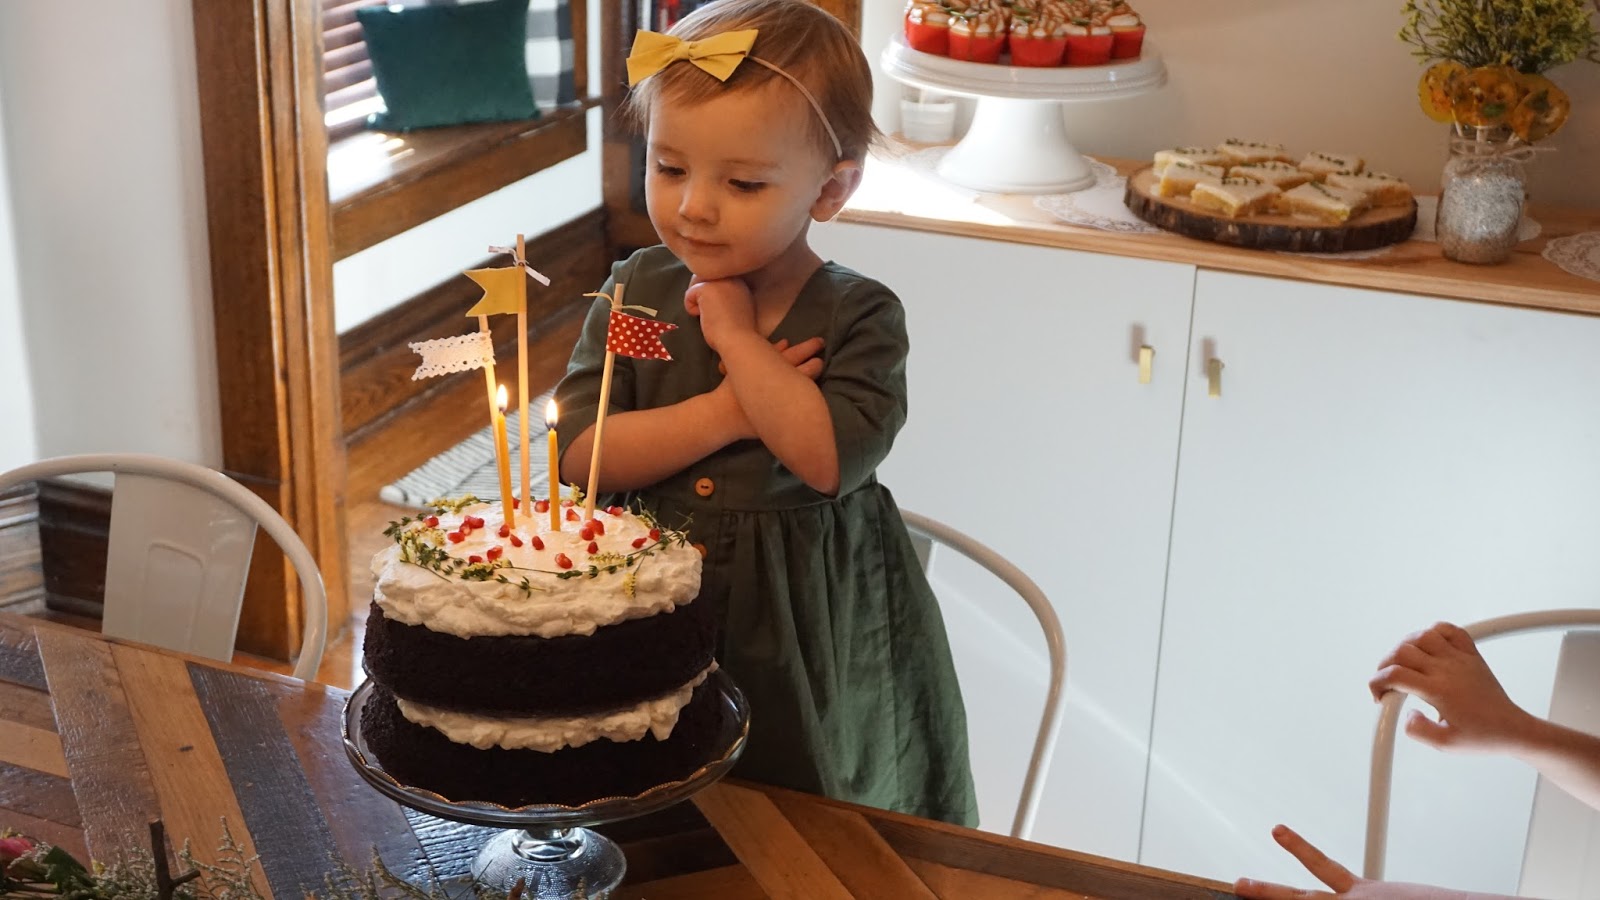
And so, here we are. My girl is two. Having a November birthday I thought I'd keep her party seasonal and styled it with fall flavors and foliage. The perfect invitation set the tone I was looking for. Feminine, rustic, and a little bit of magic and whimsy too. 

Oh, and REALLY delicious. 


Abby and I (well, mostly Abby let be real) baked the cake and all the desserts, except the cupcakes and chocolate toadstools which I commissioned from Cheryl and which she more than delivered on. All hail the queen! No one does it better - no one.


 I also ordered these AMAZING lollipops with edible wildflowers inside from Sugar Bakers Bakery.


We had homemade soup and biscuits with honey butter and mulled cider to drink - comfort foods - fitting for the season (or so I thought). In reality, it ended up being nearly 70 degrees and so my idea of a warm and cozy party inside was a little bit waylaid. But who can be mad at seventy degrees in November?! We rolled with it and happily took the party outside. Ever opened presents on the front porch and the kids all played in the huge leaf pile heaped up in the back yard.  It was perfect.


Happy birthday to my bright, silly, beautiful, sweet daughter! You are the magic in our lives. The breath in our lungs. You make life better every single day. To know you is to love you and baby girl, you are so loved.

I can't wait to spend another year by your side.


How To: Paint Tile

posted on: Friday, January 3, 2014


Good morning everyone! I thought I'd share a little DIY with you today if that's okay. So, as you all know we moved in to a new (to us) house a few months ago and I have been working like a madwoman fixing it up to suit our tastes. The home was built in 1908 and has had many updates along the way between then and now. Some of which were good, some, not so much. One of the things that has been sticking out like a sore thumb to me since day one was the fireplace tile in our family room. It was a marbled green/burnt orange number and didn't really go with anything else we have going on in this room.


So instead of spending a thousand dollars having it ripped out and completely refaced I thought I'd try my hand at painting it first. I'd never painted tile before, but this seemed like a small enough project that I was confident I could handle it for my first attempt. I researched the best methods online and followed the instructions to a tee.

Step 1: Is obviously to clean your surface completely and let dry.

Step 2: Sand the tiles lightly (online it recommended 200 grit sandpaper). This will roughen up the shiny surface of the tile to give your primer something to cling to. Clean it off thoroughly again and let dry.

Step 3: Tape off the surrounding area and apply a coat of primer. I'd read that if your tile is in an area where it will be getting wet frequently (like a bathroom) to use an alcohol based primer. But since this was a dry space latex primer was sufficient. Since I was planning on painting the tile black, I asked them to tint my primer grey for me at the counter when I bought it.


 No going back now!


Step 4: Once you've applied your primer, let it dry completely and apply a coat of semi gloss or high gloss alkyd paint in the color of your choice and allow to dry overnight. The next day, apply a second coat of paint. The only bummer about this was that the alkyd paint is only sold by the gallon and I didn't even use a quart's worth on this little area so I have tons leftover.


Step 5: Wait two or three days to be sure the paint is totally and completely dry (I accidentally waited a week and a half - oops!) and apply two coats of water based urethane finish with a foam brush to protect the paint from scratching or chipping off and to give it that glossy tile look. Make sure you wipe down your tile and let it dry completely before applying the urethane because this is the finishing coat and anything stuck to the surface will be there permanently after this step.

 
And that's it, you're finished!


I was pretty pleased with how it turned out. Sure, if I had an extra pile of money laying around I'd prefer new tile over painted, but I think this is a decent option if you're on a budget. Now the tile just kind of blends in to the backdrop of the room instead of sticking out like a sore thumb. Which is exactly what I was going for. The paint has held up perfectly as of yet and it's been done about three weeks now. It seems fairly indestructible to little boys and toy trucks so far, but I suppose only time will tell how long it will truly last.  


And there you have it! What do you guys think? Would you ever attempt this in your own homes?


Advent Calendar DIY

posted on: Sunday, December 2, 2012


i don't know who i think i am (seriously, i have no idea what i'm even doing here?!) but i'm throwing my hat in to the do it yourself ring anyway. caution be damned! last week i was looking for a simple, easy advent calendar i could make for the boys this year, so of course i started with pinterest. where else? there are tons and tons of far more creative and impressive advent calendar diy's out there but i took inspiration from a few of the ones i liked and put my own version together that worked for me. so, if you're interested in a cheap and fun advent calendar this year, here's one to consider!


***what you'll need***


simply assemble the bags 


find a good spot to hang your calendar
(i used an existing cork board wall off of our kitchen)


evenly space the bags in to equal rows and clip 
the bags to the twine with the clothespins


and you're done.

how easy was that?!


I Am Emme All rights reserved © Blog Milk Powered by Blogger